Shira Route – A Scenic and Remote Ascent of Mount Kilimanjaro
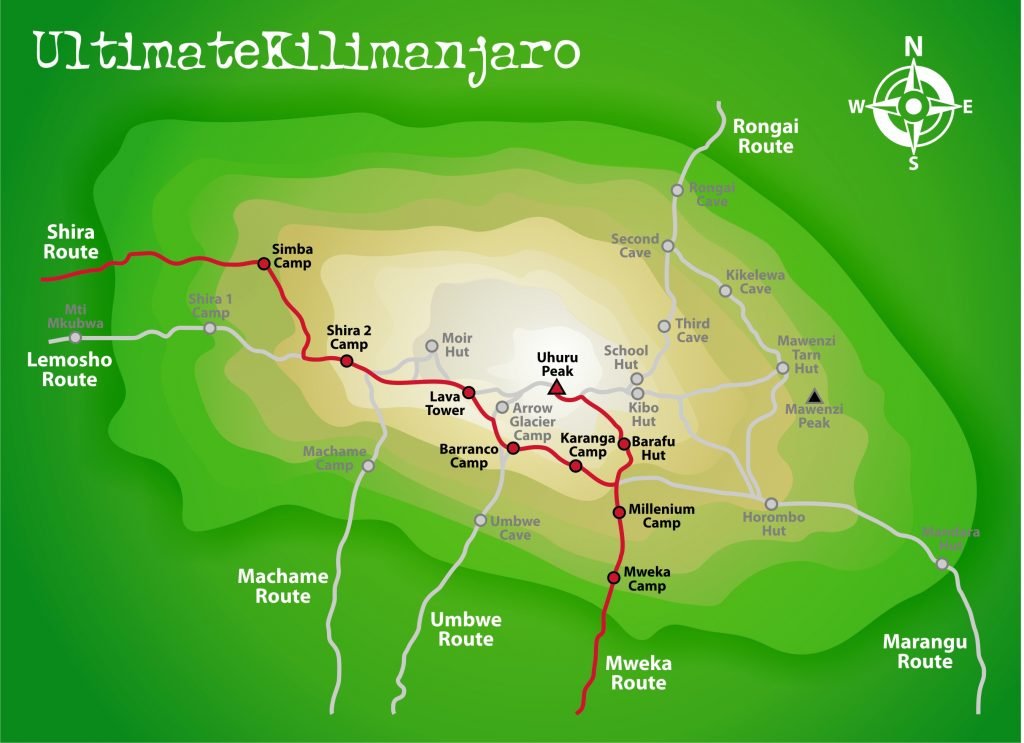
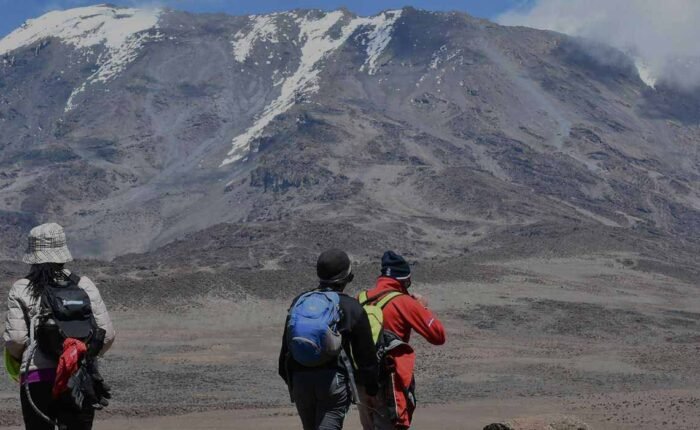
The Shira Route is one of the lesser-used trails on Mount Kilimanjaro, offering a unique and scenic approach from the west. Originally used as a route for vehicular access, it starts at high altitude and gradually ascends through beautiful moorlands, ridgelines, and alpine desert before joining the Lemosho and Machame routes.
This route is best suited for well-acclimatized or experienced trekkers due to its high starting point and lower oxygen availability from day one.
Key Facts About the Shira Route
- Route Name: Shira Route
- Duration: 7 or 8 days (8 recommended for acclimatization)
- Distance: ~58 km (36 miles)
- Difficulty: Moderate to High
- Success Rate: Medium – depends on acclimatization strategy
- Accommodation: Camping only
- Scenery: Exceptional – vast plateaus, ridges, and glaciers
- Crowds: Low – less trafficked than Machame or Marangu
Why Choose the Shira Route?
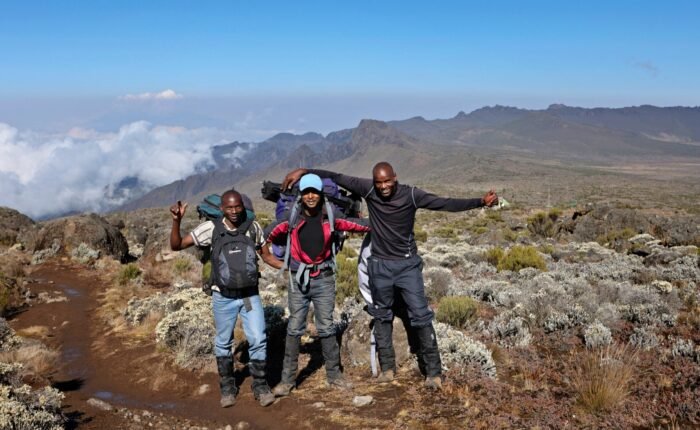
- Stunning Scenery: Expansive views from the Shira Plateau and unique perspectives of Kilimanjaro’s western slopes.
- Less Traffic: Remote and quiet during early stages.
- Good for Experienced Trekkers: Particularly those who have pre-acclimatized or are coming from previous high-altitude adventures.
Caution: Due to its high starting elevation (~3,500m), the Shira Route is not ideal for beginners or those who have never been at altitude. There’s a higher risk of altitude sickness if not given adequate time for acclimatization.
Detailed 8-Day Shira Route Itinerary
Day 1: Shira Gate (3,500m) to Shira 1 Camp (3,610m)
- Distance: 4 km
- Time: 1–2 hours
- Habitat: Moorland
The trek begins on the western slopes after a drive directly to the Shira Gate. Hike across the Shira Plateau with minimal elevation gain to Shira 1 Camp.
Day 2: Shira 1 Camp to Shira 2 Camp (3,850m)
- Distance: 7 km
- Time: 5–6 hours
- Habitat: Moorland
A gentle trek across the plateau with sweeping views. You’ll acclimate as you cross open moorlands toward the base of Kibo.
Day 3: Shira 2 Camp to Lava Tower (4,630m) to Barranco Camp (3,960m)
- Distance: 10 km
- Time: 6–8 hours
- Habitat: Alpine desert
This is a critical acclimatization day: “climb high, sleep low.” The route ascends to Lava Tower, where you’ll pause for lunch, then descend into the lush Barranco Valley.
Day 4: Barranco Camp to Karanga Camp (4,035m)
- Distance: 5 km
- Time: 4–5 hours
- Habitat: Alpine desert
Begin by scaling the Barranco Wall, a thrilling climb with panoramic views, and hike through glacial valleys to reach Karanga Camp.
Day 5: Karanga Camp to Barafu Camp (4,640m)
- Distance: 4 km
- Time: 3–4 hours
This day positions you at the base camp for the summit. Rest, hydrate, and prepare for the midnight ascent.
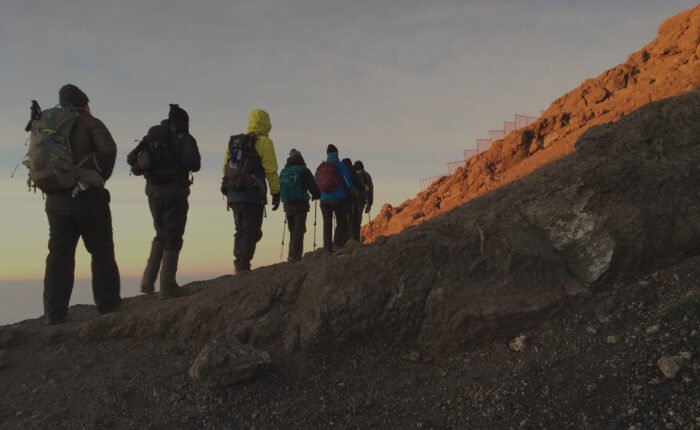
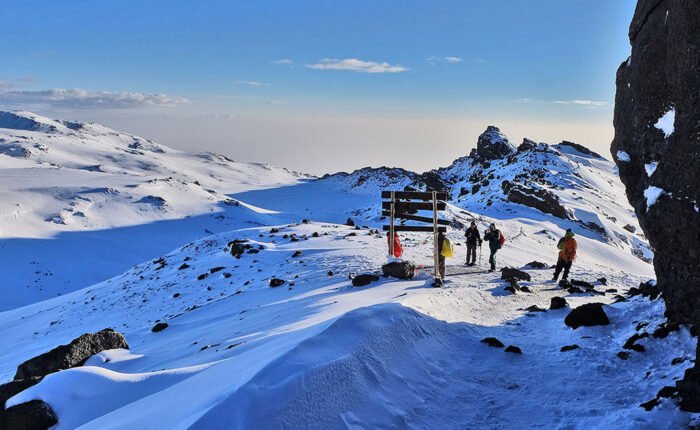
Day 6: Barafu Camp to Uhuru Peak (5,895m), then down to Mweka Camp (3,110m)
- Distance: 17 km total (7 km ascent, 10 km descent)
- Time: 6–8 hours up, 4–6 hours down
The summit push begins early, aiming for Stella Point by sunrise and then Uhuru Peak, the highest point in Africa. Descend back down to Mweka Camp via Barafu.
Day 7: Mweka Camp to Mweka Gate (1,640m)
- Distance: 10 km
- Time: 3–4 hours
Walk through the lush rainforest zone back to the gate, where you receive your summit certificates and return to your hotel.
(Optional Day 8): Acclimatization Day at Shira 2 or Karanga
- Adding a rest or light hiking day helps prevent altitude sickness and improves your summit success rate.
Tips for Trekking the Shira Route
- Acclimatize Beforehand: Consider spending time at altitude (e.g., in Arusha or nearby mountains) before the trek.
- 8 Days Recommended: An extra acclimatization day significantly boosts summit chances.
- Layer Smart: Weather can shift dramatically — pack base layers, fleece, waterproofs, and warm summit gear.
- Use a Reputable Tour Company: Certified operators offer guides, porters, gear, and emergency support.
- Hydrate Constantly: Helps prevent altitude sickness.